Tile flooring is widely used in the market because it is cheap and easy to clean. Also, it comes in a wide range of colors, styles, and designs. Therefore, making it universally adaptable flooring which goes well with every design.
However, the disadvantage of tiles is they get chipped from the corners or break if something heavy falls on them. Expert professionals can help lay the tiles properly to prevent them from getting damaged. Choose the right material and carefully lay the tiles to ensure no such damages occur to the tiles and your tile and grout repair can be done easily.
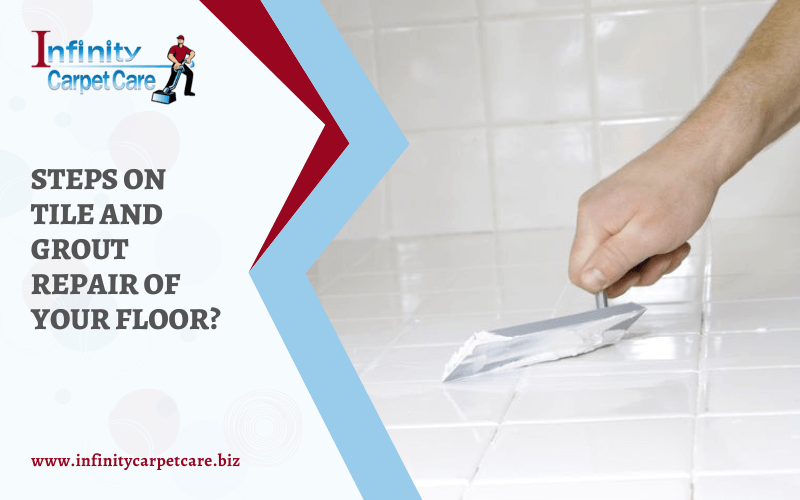
Grout is the cement that connects the tiles. Proper placement and the right type of grout allow expansion and contraction of tiles without any damage. Chipped grout is a common occurrence in everyone’s home. Especially since bacterias and dust gets collected in the broken pockets. Keep on reading to know more about how to repair grout on the tile floor.
Steps To Repair Grout In Tile Floor At Home
The process of repairing the grout is simple and can be done with DIY techniques. Before we start with how to repair grout on the tile floor, we need to understand the different types of grout. The type of grout depends on the material. It can be sanded, unsanded, acrylic, or epoxy grout.
Materials and Equipment Required
Materials:
- Grout
- Grout Sealant
- Round Dowel
- Painter’s Tape
- Rags
Equipment:
- Grout Float
- Grout Saw
- Squeegee
- Eye Protection
- Cleaning Gloves
Steps On equipment: How To Repair Grout In Your Tiles
- Use a long stick to pull out all the broken grout and then fully clean the broken grout area with a vinegar-water solution.
- Use the grout to remove all the broken grout. Carefully remove all the debris between the tiles without chipping the tile.
- Mix the sealant as per the manufacturer’s instructions provided.
- Use the grout float to spread the grout evenly and fill in the gap. Remove excess material with the help of grout float.
- After 15-30 minutes, remove excess grout with the help of a grout sponge.
- Let the grout set as per the manufacturer’s instructions.
- Remove excess with haze, if needed
With these steps, you can easily extend the lifespan of your tile and grout. If you’re looking for a commercial or residential grout cleaning service if you are busy then look no further than the professionals.
Professionals can easily overcome any difficulty thrown at them as they have hi-tech tools in their arsenal. For more information and bookings call professional tile and grout repair service for free.


