Just like your tiles, the grout lines of your floor also bear wear and tear and start getting damaged. You start seeing it getting cracked and loosened.
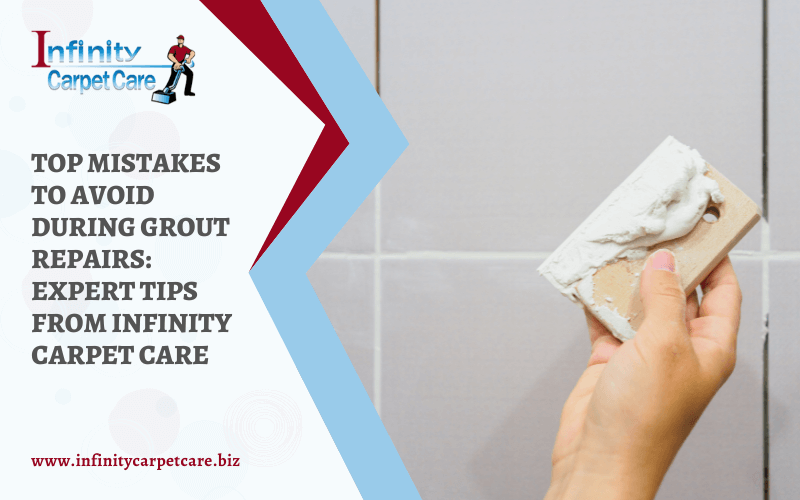
The default solution for this is to repair/replace the grout, and many homeowners, we know, prefer to do the repair themselves.
While it’s not a tough job to do, you are prone to make some mistakes during grout repairs. And to help you avoid them, our experts at “Infinity Carpet Care” are here with this blog.
5 Grout Repairs Mistakes To Avoid
1. Not Cleaning The Grout Before Removing It
The number one mistake people often make is starting to scrape off the old grout without cleaning it first.
Now, you would say it’s the old grout that is, anyways, going to be removed. However, experts suggest cleaning the grout before beginning to repair it.
It is important to clean it before you remove the cracked or loose pieces, and there are reasons for that. If you don’t clean it before you remove it, the dirt will remain at the edges of the tiles, and when you apply a fresh coating, this dirt will not let the new grout stick to it properly.
And this can especially happen when fixing a moldy grout. The mold can spread around, affecting your tiles and new grout too.
Moreover, without cleaning, you won’t be able to do the exact match for its color because the dirt on the old grout has changed its original color.
2. Using Sanded Grout For Metal, Glass, And Marble Tiles
Tile grout is of two basic types: sanded and unsanded. Sanded grout contains abrasive sand mixed with it whereas unsanded doesn’t. Both have their uses.
Some homeowners lack the knowledge to choose the right type of grout for their tile type. Although tiles are robust, some tiled surfaces are more prone to scratches.
So one of the mistakes during grout repairs is using sanded grout on metal, glass, and marble tiles. If you use sanded grout on these tiles, you may end up scratching their surface with the abrasive sand it has.
We advise always using unsanded grout for repairing the grout of such tiles.
3. Not Sealing The Porous Tile Before Regrouting
If your tile is made up of porous material, one of the mistakes you are making while repairing its grout is not sealing it before applying new grout.
What happens is that the open pores of the tiles can absorb the new coating of the grout when you apply it. Now, by the time you start to remove the excess grout from the tile, it would have stuck to the tile’s surface, and then it will be impossible to remove it.
That’s why we recommend always sealing a porous tile before repairing grout.
4. Not Letting The Grout Slake
Letting the grout slake means letting it rest for some time after mixing.
Most people feel tempted to just make the grout mixture and start applying it without giving it time.
When you mix the dry grout powder with water, it needs at least 10 minutes to absorb all the moisture to combine well before you can remix it or adjust its thickness. If you fail to do so, it cannot mix well.
So while repairing the grout, never make the mistake of skipping to let the grout slake.
5. Covering A Large Area At A Time
One of the mistakes homeowners make while doing grout repair is covering the entire or a large area while spreading the new grout over the tiles. While you may feel to speed up the work by doing so, you are making the after-job difficult for yourself.
When you fill the grout lines of a large area, all at the same time, the grout remaining on the tiles starts to dry and harden. And when you finish filling the area, you find it difficult to clean the excess grout stuck on the tiles.
Working in small sections gives less time for grout to dry, so you can clean tiles easily before moving to fill the next section.
Summing Up,
Some mistakes to avoid during grout repairs include not cleaning the grout before repair and using sanded grout on glass and marble tiles.
Additionally, not sealing the tile before regrouting, not letting the grout slake, and covering large areas at the same time are also some common ones.


